- 2022-05-27
- Posted by: Vious
- Category: Useful Makeup Tips
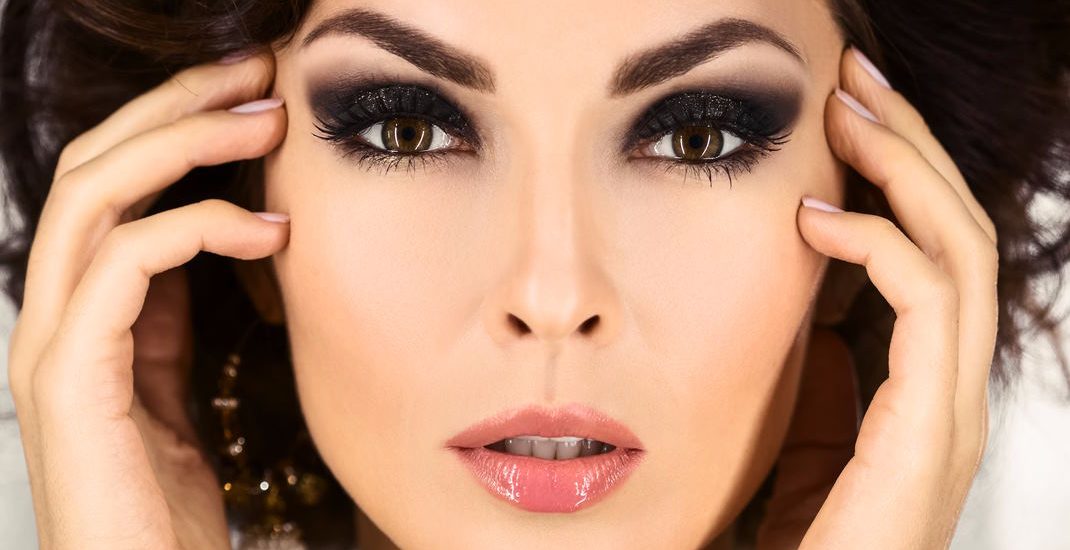
The smokey eye makeup look is a classic that never goes out of style. Whether you’re getting ready for a night out or want to add some drama to your everyday makeup routine, a smoky eye can be the perfect choice. But getting the look just right can be a challenge. In this article, we’ll guide you through the steps to master the smokey eye.
Step 1: Prime Your Eyes
Start by prepping your eyelids with an eyeshadow primer. It will help your eyeshadow go on smoothly and stay in place all day or night.
Step 2: Apply Eyeliner
Using a black eyeliner pencil, line your upper and lower lash lines, making sure to get as close to the lashes as possible. Then, smudge the liner with a small brush or fingertip to soften the line.
 Step 3: Apply a Transition Shade
Using a fluffy eyeshadow brush, apply a neutral shade to your crease. It will blend the darker shades you’ll be using later. Next, choose a color just a few shades darker than your natural skin tone.
Step 4: Build the Smoke
Using a small, dense brush, apply a dark eyeshadow shade to the outer corner of your eye and blend it into the crease. Be sure to blend well to avoid any harsh lines. Repeat this step, gradually building up the intensity of the color until you achieve the desired level of smokiness.
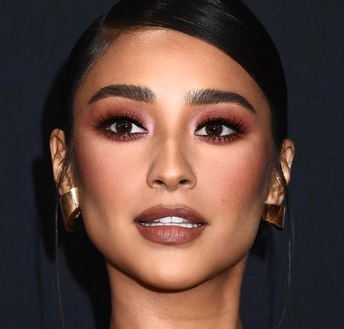 Step 5: Add Highlight
Using a small brush, apply a shimmery or light eyeshadow shade to the inner corner of your eye and under your brow bone. It will brighten the eye and contrast the smoky look.
Step 6: Mascara and Lashes
Apply mascara to your top and bottom lashes, wiggling the wand from root to tip. Consider applying false lashes if you want to add more drama to the look.
And that’s it! With these steps, you’ll have mastered the smoky eye look. Remember to blend well and choose colors that complement your skin tone and eye color. Whether you’re going for a subtle smoky look or a dramatic one, this classic makeup look will turn heads.